Anyone can use the 3D data and photos in this article freely.
*I want you to share and spread
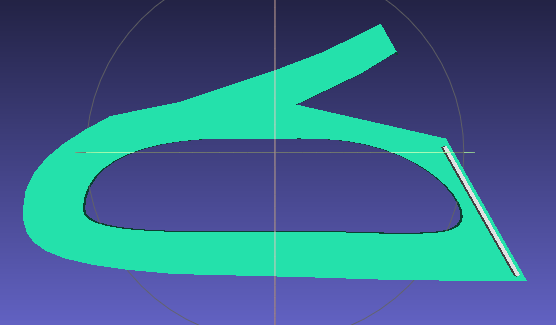
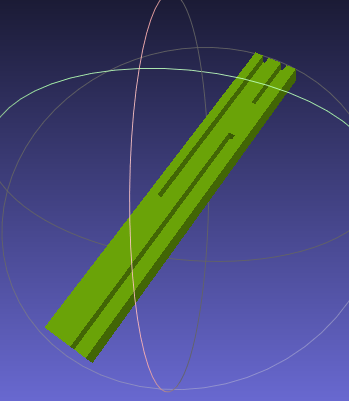
We propose a method of making "disposable masks" using parts output by a 3D printer, instead of "non-disposable masks".
This is a Japanese translation into English.
<この記事は英訳です。日本語はコチラ↓>
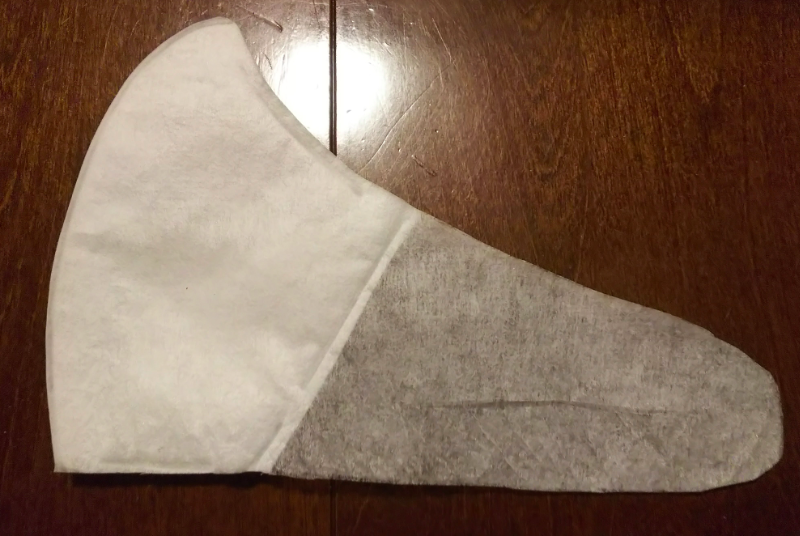
<Actually made mask>
Required tools and materials
Non-woven drainer net
Be sure to select a polypropylene material.
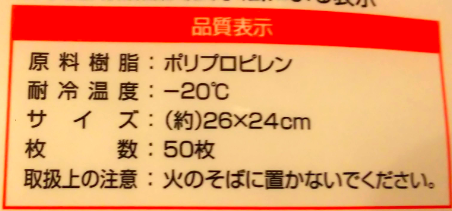
Cooking Sheet
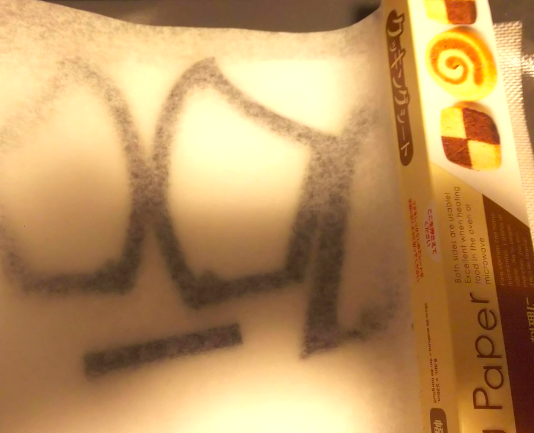
Used to protect the iron.
Silicone mat
Use it as an ironing board.
3D printer
Output parts.
Iron
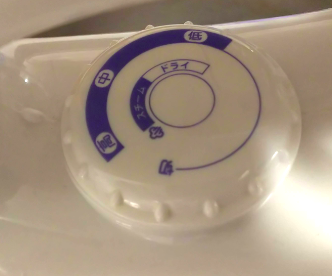
Use at about 160 ° C.
Scissors or utility knife
Something that cuts paper.
Download of type data
Download the data below.
Data is shared on Google Drive.
No license is required.
Please distribute freely.
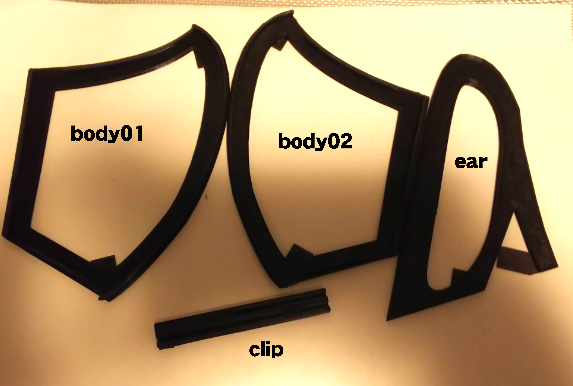
ABS is recommended, but can be used with PLA.
<body01>
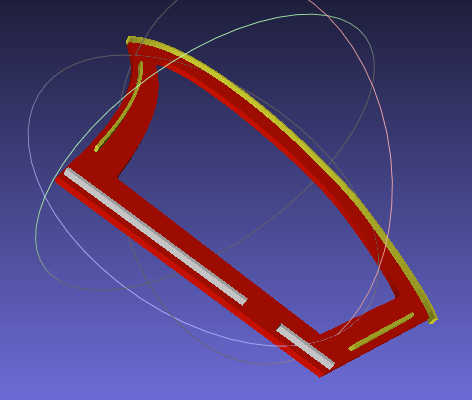
3Dmask_body01.stl - Google Drive
<body02>
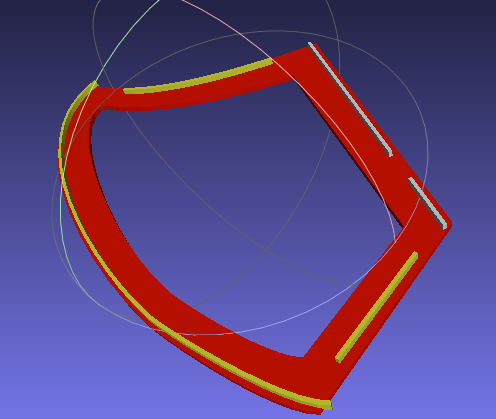
3Dmask_body02.stl - Google Drive
<ear>
<clip>
3Dmask_clip.stl - Google Drive
<Mask pattern>

3Dmask.pdf - Google Drive
How to make
Make Cloth fabric
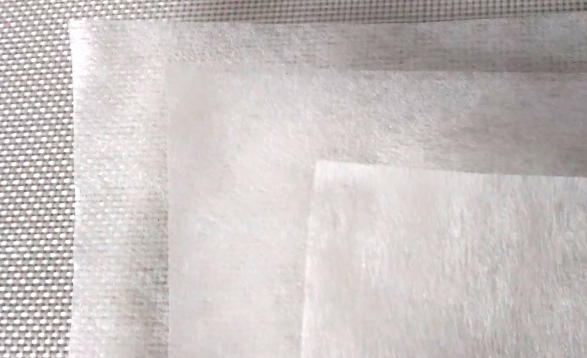
Use four nonwoven sheets.
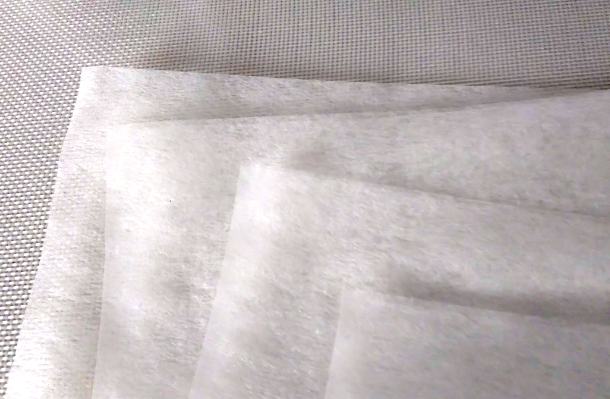
Make three pieces into one set.
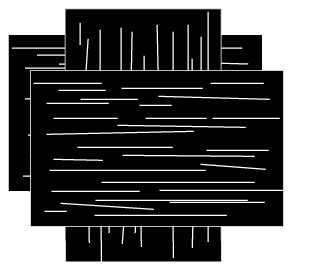
Set the orientation of the nonwoven as "vertical horizontal vertical".
It is shown in the figure for clarity.
Hold the sheet with a cooking sheet and weld with iron.
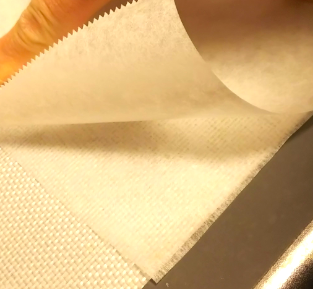
Iron temperature is between "medium" and "strong".
Depending on the type of iron.
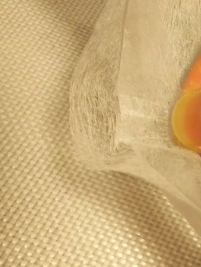
Lift the top of the seat and lift the lower seat.
Please be fluffy.
Please iron to the extent that it does not become hard.
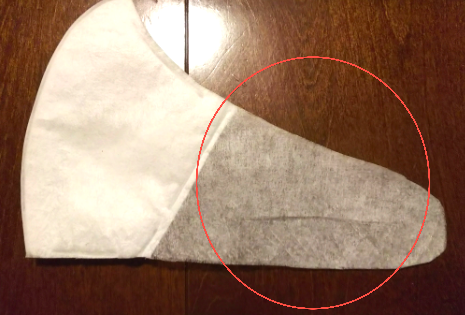
It becomes the filter part of the mask.
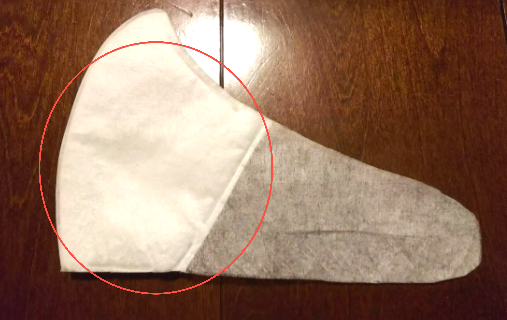
Iron the same with only one.
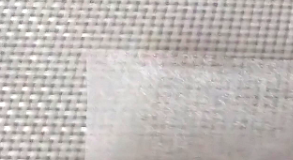
Weld so that the bag does not open.
It will be the ear of the mask.
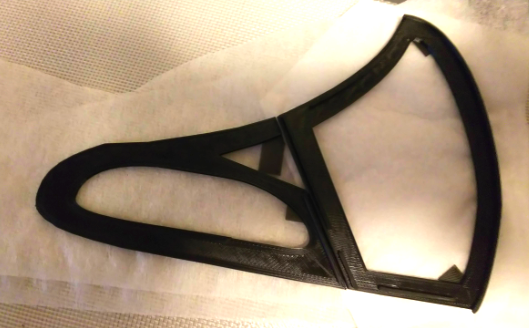
Cut out the body01 and body02 of the mold side by side on a set of three layers.
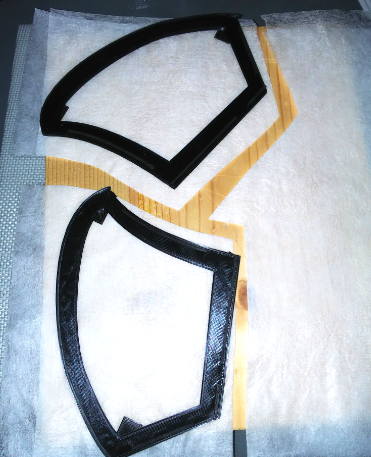
Line up body01 and ears and cut out one layer of fabric.
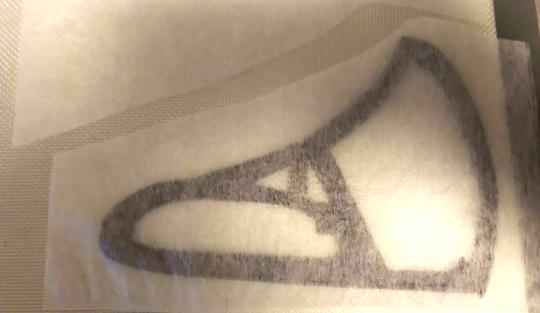
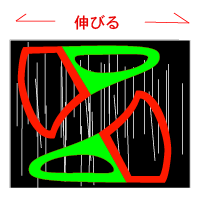
Make sure the bag stretches("伸びる") from side to side.
welding
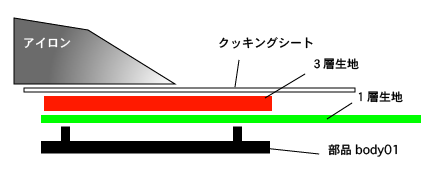
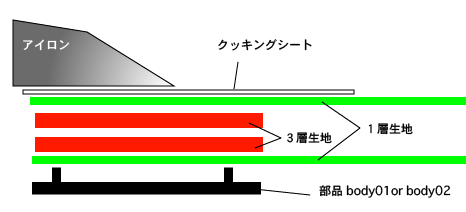
Place a set of one-layer cloth and three-layer cloth on part body01.
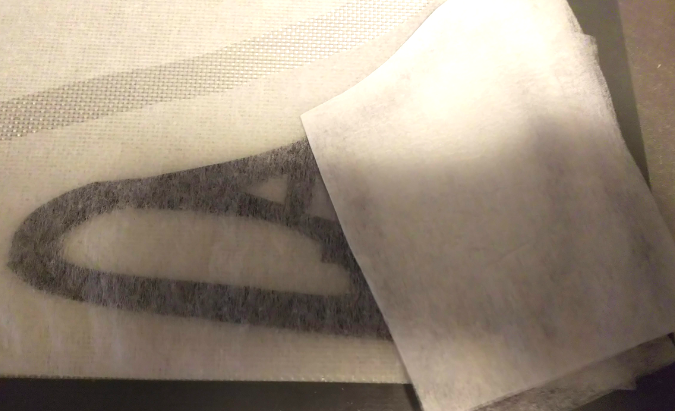
Place the cooking sheet and weld with iron.
Shown in the figure.
iron("アイロン")
cooking sheet("クッキングシート")
three-layer cloth("3層生地")
one-layer cloth("1層生地")
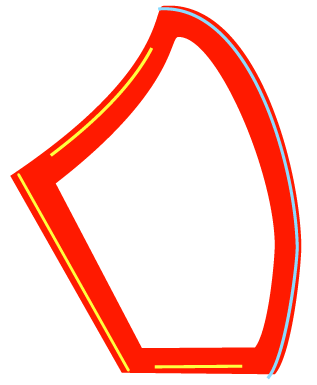
Weld only the "yellow" part in the figure below.
No component ears are required.
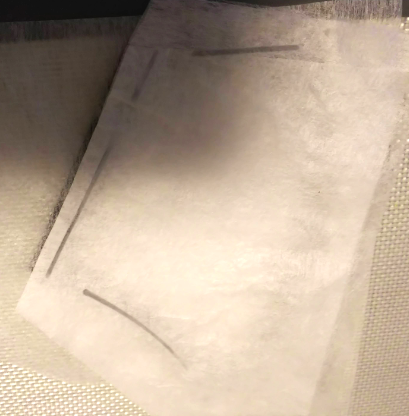
Welding is complete when the color of the projections gets wet.
Weld it symmetrically using part body02.
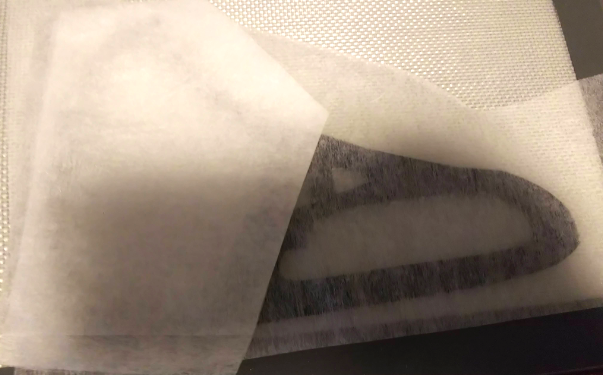
Stack the filter parts so that they face inward.

Temporarily fix the area around the blue ☆ mark so that it does not move.
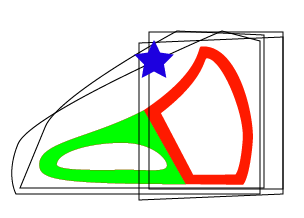
Align the protrusion of body01 or body02 with the welding position.
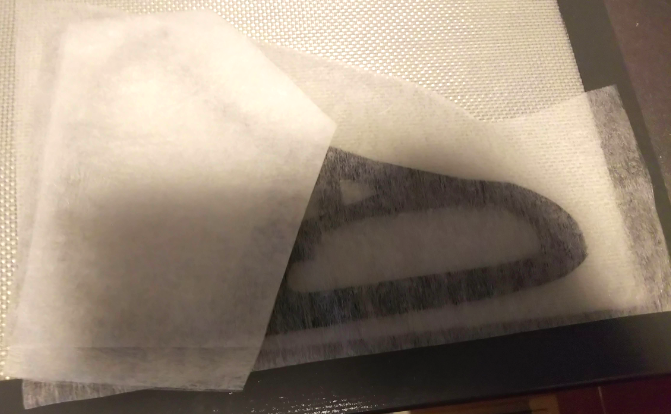
Weld the convex part of the light blue line in the figure with iron.

Shown in the figure.
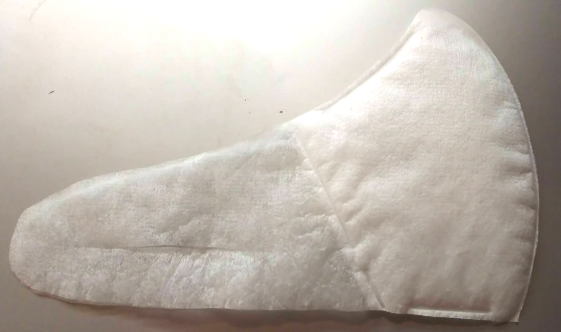
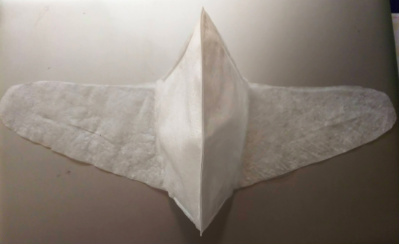
When complete, it looks like this.
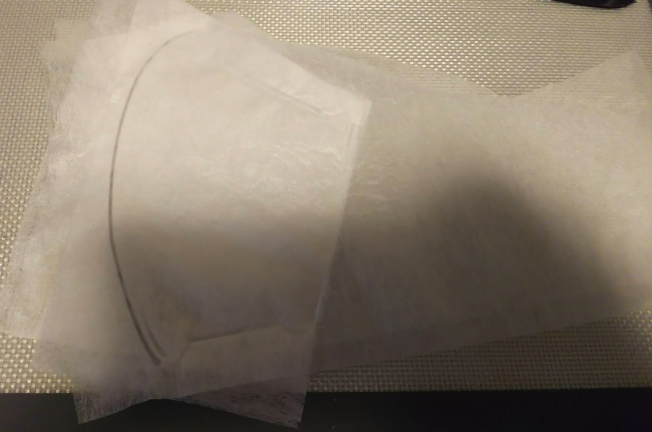
The temporary adhesive can be cut and opened.
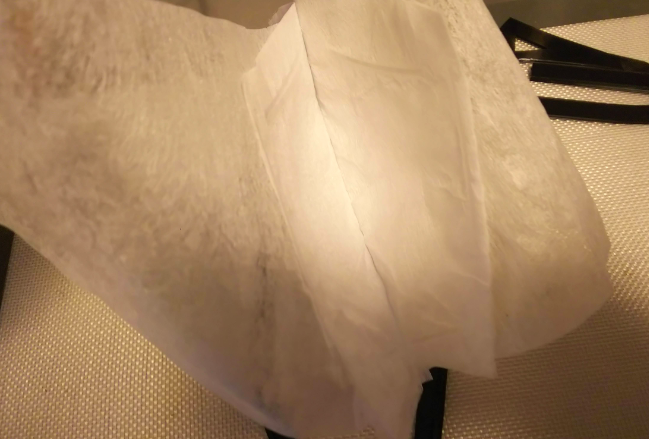
Line up the parts and cut along the mold.
Bend and cut out your ears.
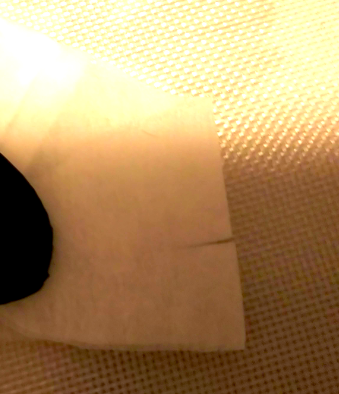
done.
<new Version>
